Choice
The Choice step is a powerful tool in your AI Agent’s flow that allows users to make selections from a set of predefined options, presented as buttons. This step not only enhances user engagement by offering clear choices but also allows you to guide the conversation in specific directions based on the user's input. Whether you're gathering user preferences, navigating through different conversation paths, or triggering specific actions, the Choice step provides a flexible way to manage interactions.
In this guide, you’ll learn how to configure a Choice step, set up the options users will see, and implement advanced scenarios to tailor the conversation experience to your needs. By following the steps outlined below, you can ensure your AI Agent effectively captures and responds to user selections, creating a more dynamic and interactive dialogue.
Adding and configuring Choice steps
To add and configure a Choice step in a DRUID flow:
- Open the desired flow in Flow Diagram view.
- Expand the Flow Palette, then drag the Choice step from the Dialog category into the main flow window and drop it onto the step you want to link it to.
- Select the step on the diagram, then click the Settings icon from the Actions menu.
- Set the General parameters:
- Step name: Give the step a descriptive name that helps you remember its purpose, like "Choose" or "Options".
- Step message: Enter the message that the AI Agent will display to the user, such as "Choose from the options below".
- In the Input Mapping field, specify where you want to store the user’s selection, such as a variable or an entity field. For example, you can use a variable like @option to capture the user's choice.
-
Go to the Metadata section to set up the buttons that users will see. Click Edit to add or modify the choices. Add more choices by clicking the Add choice button.
-
For each option, in the caption field, specify the option name that will be visible to the user and in the value field enter the option order number. For example, you might set "Option One" as both the name and the value for the first button. If you’ve customized your AI Agent’s layout with custom CSS, enter the name of the CSS class you defined for button styling in the buttonClass field.
IMPORTANT! The value field applies only to WhatsApp channel version 1.0. For all other channels, ignore the value field. Use the caption field instead—it’s the field you should reference when adding conditions based on the user’s choice.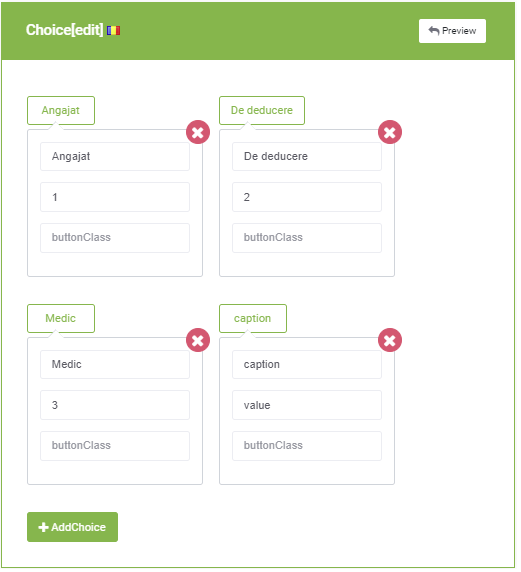
You can preview the choice options by clicking the Preview button.
- Click Save to save the step configuration.
Branching Conversations Based on User Choices
If you want to guide the conversation down different paths based on the user's selection:
- After configuring your Choice step, add additional steps that correspond to each choice. Use the Flow Palette to drag and drop a relevant step into the workspace.
- Link these new steps to the Choice step.
- Set Conditions for each branch. In the settings of each linked step, set conditions based on the user’s choice. For example, if the user chooses "Option One," the AI Agent should follow a specific path. Set the condition using a format like @option == "Option One".
Repeat this process for other options, ensuring each choice leads to a different conversation branch.
Configuring advanced choice steps
The Choice step isn’t just about offering simple options—it can also be leveraged to create more complex and tailored user experiences. In this section, we’ll explore advanced use cases that demonstrate how to use the Choice step to handle intricate scenarios, such as guiding conversations based on user inputs, managing dynamic content, and integrating with external processes. These examples will help you unlock the full potential of the Choice step, allowing your AI Agent to provide more personalized and context-aware interactions.
Multiple buttons for collection items
By default, a Choice Step with the Is repeater option generates a single card containing a choice for each item in a collection. To configure this:
- In the Metadata section, tap on Is repeater and in the Repeater collection field, specify the name of the entity list (e.g., [[EntityList]], [[<Entity>]].<EntityListField).
- Tap on Advanced editing and add the following parameter under the choice step:
"isButtonsRepeater":true,. Create Multiple Buttons. Tap on Advanced editing, and in the JSON field, under "choice" add "isButtonsRepeater": true to create one card with multiple buttons.
Configuring choice card pagination
If your choice step has more than 10 options, the AI Agent will automatically create additional cards showing 10 items per page. You can customize the number of items per page by adjusting the "pageSize" property under "choice" in the step’s JSON settings (Metadata > Advanced editing).
Capturing user selections with Is repeater
If you want to capture the entity associated to the item selected by the user after the choice step with Is repeater:
- On the Choice step, set the conversation context in Input Mapping (section General). Specify the entity or variable that will store the user’s selection, such as @option.
- In the choice configuration, in both the caption and value choice fields, specify the same field from the base entity of the collection (Entity List) provided in the Is repeater field.
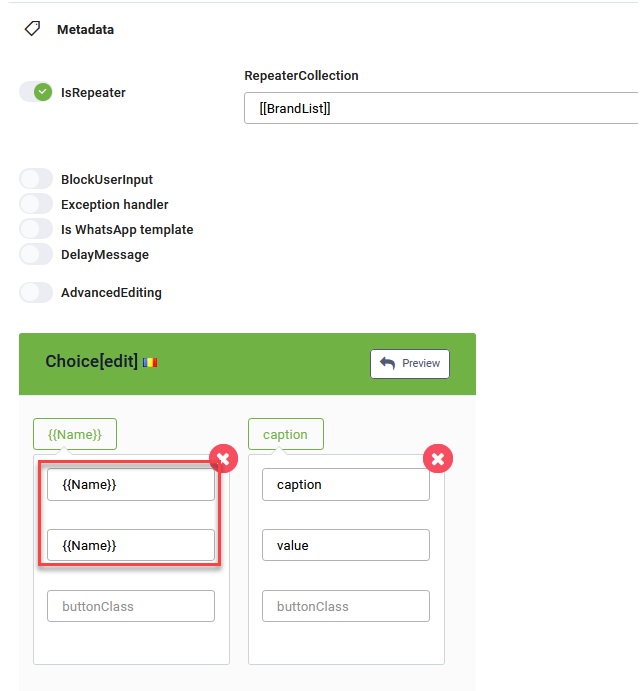
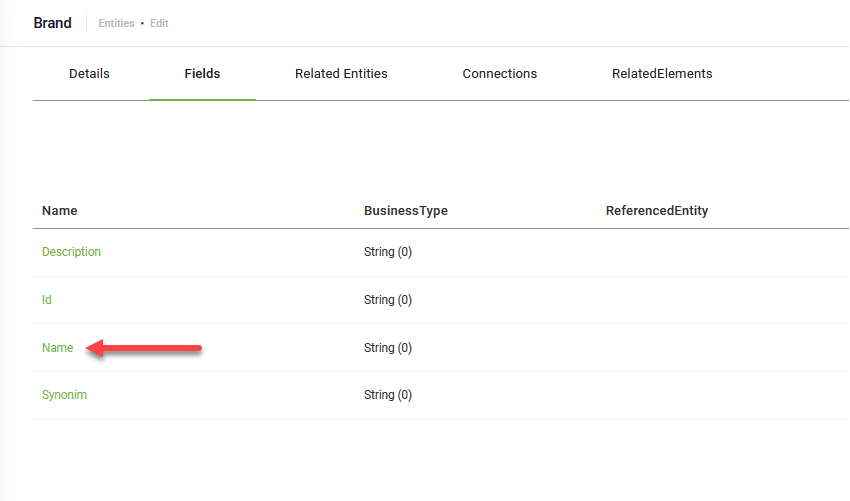
In example above:
- The [[Brand]] entity is the base entity for collection [[BrandList]].
- The [[Brand]] has a field [[Brand]].Name of type string we’ll use to store the chat user selection from the choice step card with Is repeater.